Got some time to put calibration working in a simple way (I think) and with good results.
To perform calibration we capture images from one or more chessboards.
This can be done using live feed from cameras or from a video file or image sequence.
Results of the calibration progress are presented immediately to the user.
We can evaluate the captures and decide if we want to keep or remove them from the calibration list.
We can have some chessboards incorrectly identified and they must be suppressed from the calibration, but this has to be done manually.
Sources are calibrated separately and the stereo is calibrated in the end.
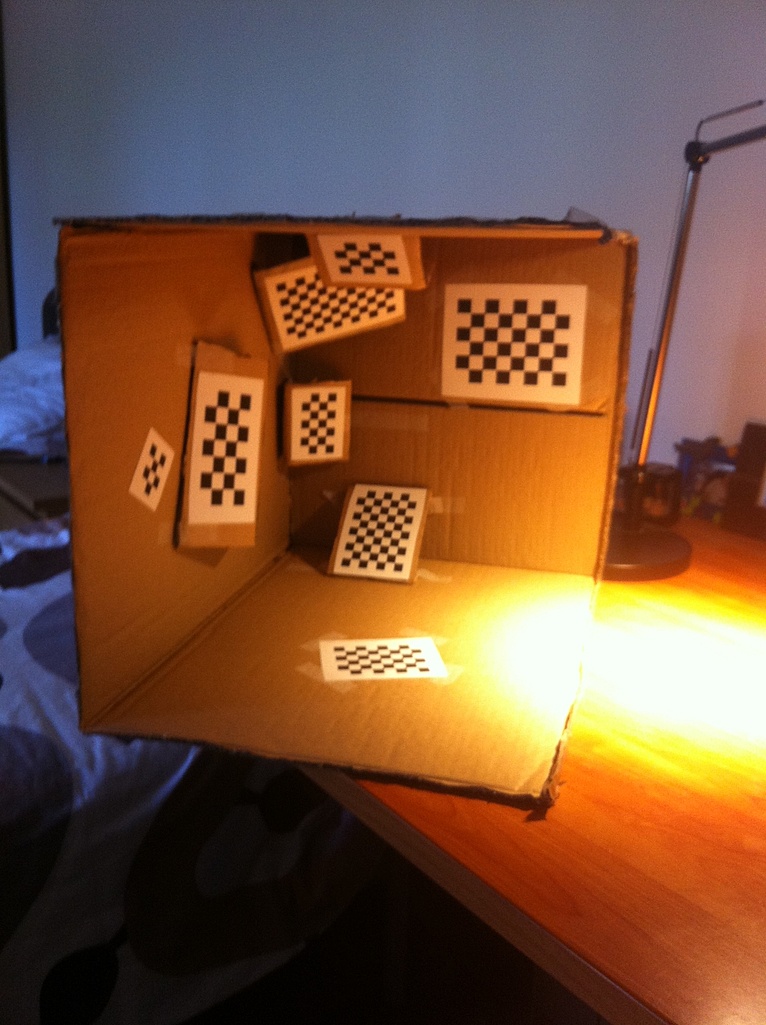
One of the new features, is the possibility to use more than one chessboard in each image.
The limitation here, is to use same size chessboards with the same square size.
With a good pc everything works in a fast and smooth way. I'm concerned with slower ones, it will work, but takes more time.
Just to post some images on the progress.
Bellow one image of the mono calibration.
We can now calibrate devices individually and in stereo.

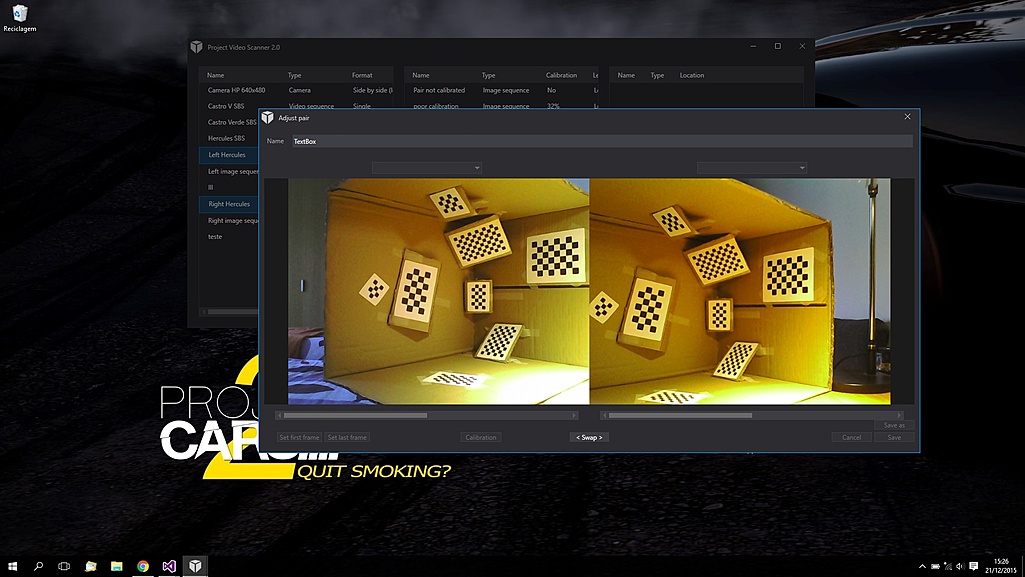
The image shows in the left the camera capture with an overlay of the captured chessboards.
On the right the captured chessboards list (we can remove the bad ones if we wish).
On the middle the undistorted result.
I also added a way to capture chessboards from the screen.
Connect the pc to a TV or projector to get bigger calibration patterns and calibrate the cameras without the need to print the chessboards.
This has the advantage of using an already planar surface.

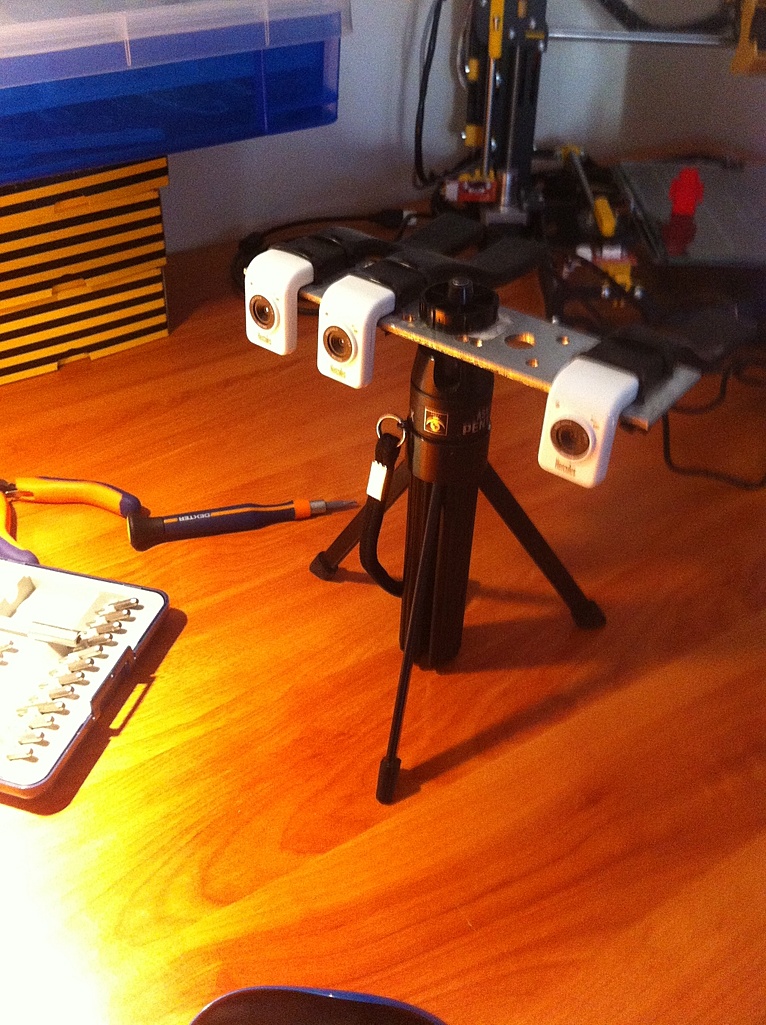
I also got two 360º lenses to test omnidirectional reconstruction.
The calibration seems to work well already.


Some news soon...
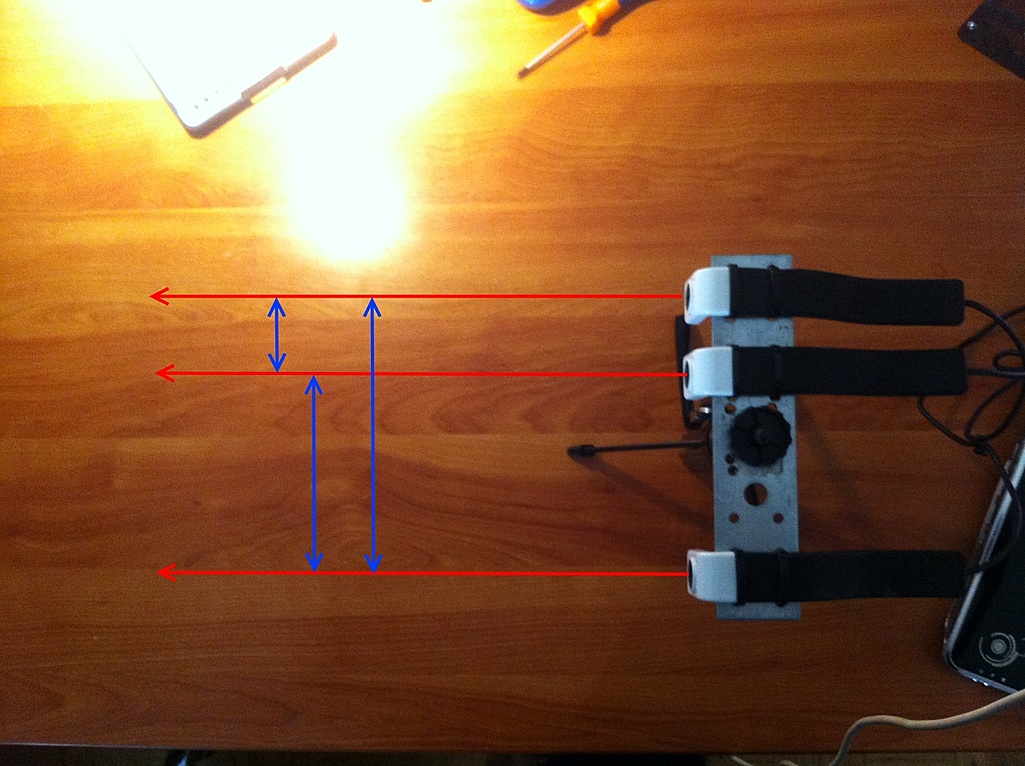
Edit:
Just to add a spoiler...